

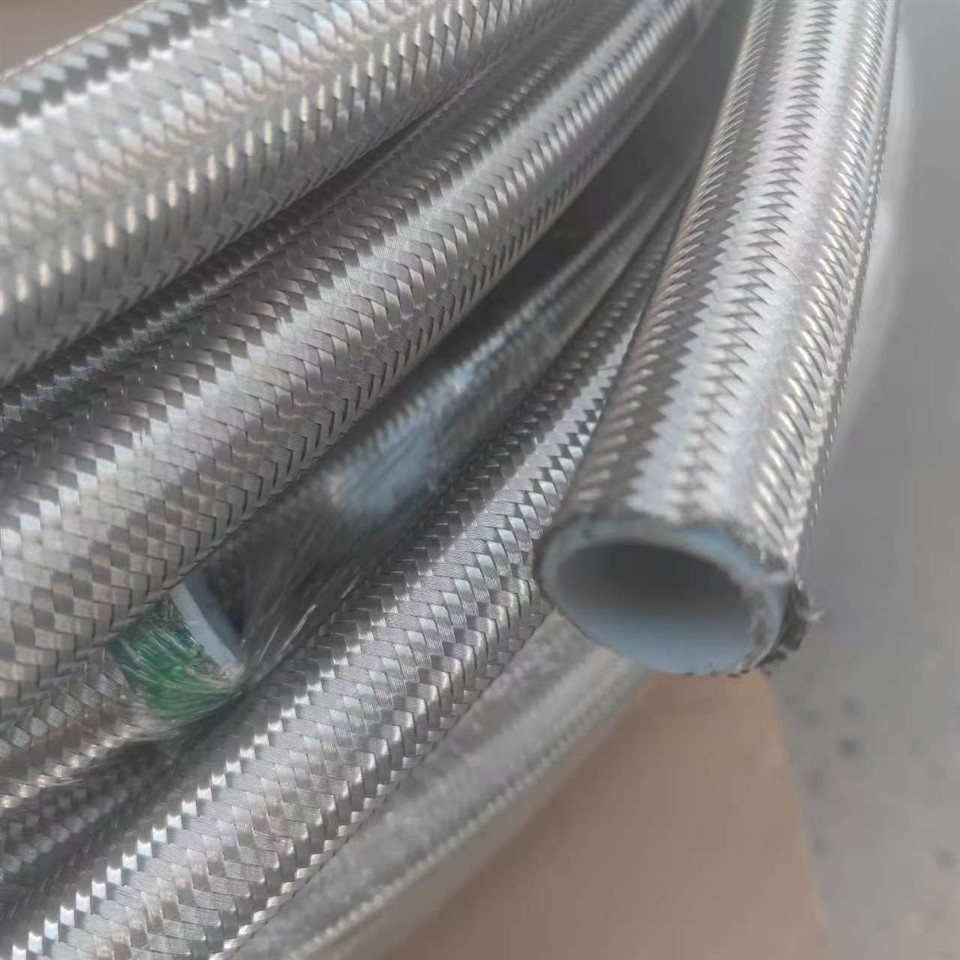
SAE 100 R14 hose is a high - pressure hydraulic hose widely used in various industrial applications. As a reliable SAE 100 R14 hose supplier, I understand the importance of correct installation to ensure the optimal performance and longevity of the hose. In this blog, I will share some key steps and considerations on how to install SAE 100 R14 hose correctly.
Pre - installation Preparation
Before starting the installation process, it is crucial to conduct a thorough inspection of the hose and all related components. First, check the SAE 100 R14 hose for any visible damage such as cuts, abrasions, or bulges. A damaged hose can lead to leaks and potential safety hazards during operation. If any damage is found, replace the hose immediately.
Next, examine the fittings. Ensure that the fittings are the correct size and type for the SAE 100 R14 hose. Incorrect fittings can cause improper sealing and result in fluid leakage. The fittings should be free from rust, burrs, or other defects that could affect the connection.
It is also essential to clean all the components, including the hose ends and the fittings. Dirt, debris, or contaminants can enter the hydraulic system and cause damage to pumps, valves, and other components. Use a clean, lint - free cloth and an appropriate cleaning solvent to wipe down the surfaces.
Measuring and Cutting the Hose
Accurate measurement is the first step in cutting the SAE 100 R14 hose to the correct length. Use a measuring tape or a ruler to determine the required length based on the specific application. It is advisable to add a small margin (about 1 - 2 inches) to the measured length to account for any adjustments during installation.
When cutting the hose, use a sharp hose cutter. A dull cutter can cause uneven cuts, which may lead to poor fitting connections. Place the hose in the cutter and make a clean, straight cut perpendicular to the axis of the hose. After cutting, remove any burrs or rough edges from the cut end using a deburring tool. This will ensure a smooth surface for the fitting to be attached.
Attaching the Fittings
There are two main methods for attaching fittings to SAE 100 R14 hoses: crimping and swaging.
Crimping
Crimping is a common method used to attach fittings to hydraulic hoses. First, select the correct crimp die for the specific hose and fitting combination. The crimp die should match the outer diameter of the fitting and the hose.
Insert the hose end into the fitting until it reaches the stop. Make sure the hose is fully seated in the fitting to ensure a proper connection. Then, place the fitting and hose assembly into the crimping machine. Follow the manufacturer's instructions for setting the correct crimping pressure and stroke. Apply the crimping force evenly around the fitting to create a tight seal.
After crimping, visually inspect the crimped area. The crimp should be uniform, and there should be no signs of cracks or deformation. You can also use a caliper to measure the outer diameter of the crimped fitting to ensure it meets the specified tolerance.
Swaging
Swaging is another method for attaching fittings to hoses. In swaging, a special swaging machine is used to compress the fitting onto the hose. Similar to crimping, insert the hose end into the fitting and ensure proper seating.
Place the assembly in the swaging machine and activate the machine. The swaging process gradually compresses the fitting around the hose, creating a strong and leak - proof connection. As with crimping, inspect the swaged area for any defects after the process is complete.
Installing the Hose Assembly
Once the hose and fitting assembly is ready, it is time to install it in the hydraulic system.
Routing the Hose
Proper routing of the SAE 100 R14 hose is crucial to prevent kinking, abrasion, and excessive stress. Avoid sharp bends in the hose. The minimum bend radius for SAE 100 R14 hoses is specified by the manufacturer, and it should be strictly followed. A bend radius that is too small can restrict the flow of fluid and increase the pressure drop in the system.
Route the hose away from sharp edges, moving parts, and sources of heat. Use hose clamps or brackets to secure the hose at regular intervals to prevent it from moving or vibrating during operation. This will reduce the risk of abrasion and damage to the hose.
Connecting to the System
Connect the hose assembly to the hydraulic components, such as pumps, valves, or cylinders. Use the appropriate tools to tighten the connections to the recommended torque value. Over - tightening can damage the fittings or the components, while under - tightening can lead to leaks.
Before starting the hydraulic system, perform a pressure test. Slowly increase the pressure in the system to the operating pressure and check for any leaks at the connections or along the hose. If any leaks are detected, immediately shut down the system and correct the problem.
Maintenance and Troubleshooting
After the installation is complete, regular maintenance is necessary to ensure the continued performance of the SAE 100 R14 hose. Check the hose and fittings periodically for signs of wear, such as cracks, bulges, or leaks. Replace any damaged components promptly.
If you encounter problems such as leaks or reduced flow, first check the connections. Loose connections are a common cause of leaks. Tighten the connections if necessary, but be careful not to over - tighten.
If the problem persists, inspect the hose for internal damage. A damaged hose may need to be replaced. In some cases, the issue could be related to the hydraulic system itself, such as a faulty pump or valve. In such situations, it is advisable to consult a professional hydraulic technician.

Conclusion
Installing SAE 100 R14 hose correctly is essential for the safe and efficient operation of hydraulic systems. By following the steps outlined in this blog, you can ensure a proper installation that will minimize the risk of leaks, failures, and costly repairs.
As a SAE 100 R14 hose supplier, we also offer a wide range of related products such as PTFE Flexible Hose, PTFE Teflon Hose, and PTFE Hose. If you have any questions about SAE 100 R14 hose installation or are interested in purchasing our products, please feel free to contact us for further discussion and negotiation.
References
- Hydraulic Hose Installation Guide, Parker Hannifin Corporation
- SAE 100 R14 Hose Technical Manual, Eaton Corporation
- Best Practices for Hydraulic Hose Fitting Installation, Gates Corporation